Introduction
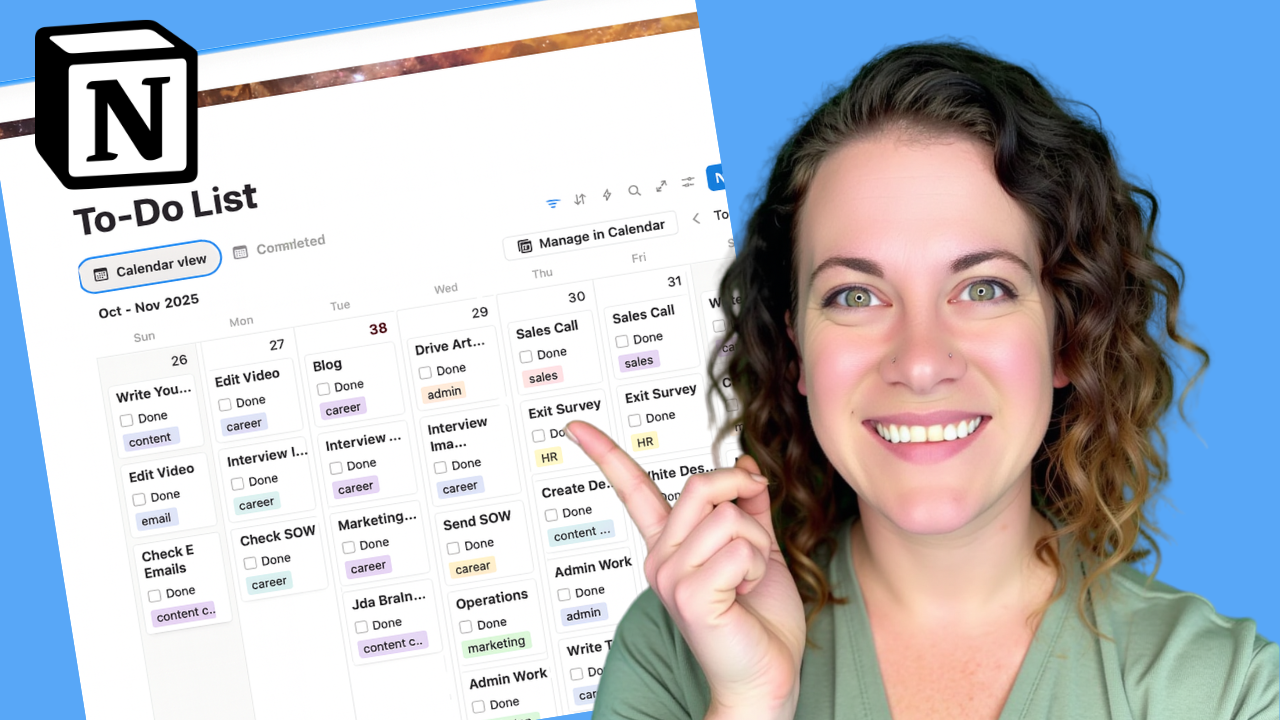
If you’ve ever felt like your to-do list is scattered across sticky notes, random apps, and your brain—this one’s for you. Notion can completely transform how you organize your business and personal tasks. In this quick tutorial, I’ll show you exactly how to create a checklist in Notion that’s simple, visual, and helps you stay productive every day.
1. Why Use Notion for Your Task List
Notion is more than just another productivity tool—it’s a complete system that lets you manage your business operations, projects, and personal life in one space. You can build anything from content calendars to client management dashboards. But one of the best ways to start using Notion is with something simple: a to-do list.
A Notion to-do list gives you flexibility, organization, and visual satisfaction. You can use it for both business and personal tasks and easily track what’s done, what’s next, and what’s recurring.
2. Creating Your New Page

Start by creating a new page in Notion. You can click “+ New Page” or simply hit “Add New.” Name this page something like To-Do List.
Then, add a bit of personality to it:
- Click the icon and choose one that motivates you. (I like using the money emoji because my to-do lists help me make money!)
- Add a cover image to make the page visually appealing. You can choose from Notion’s built-in options or use Unsplash to find a custom one.
3. Customizing Your To-Do List Layout

Next, we’ll turn the page into a functional weekly planner.
- Type a slash ( / ) and select Calendar View.
- By default, Notion shows a monthly calendar—which can be overwhelming.
- Click the three dots (•••) in the top-right corner, go to Layout, and switch from Month to Week.
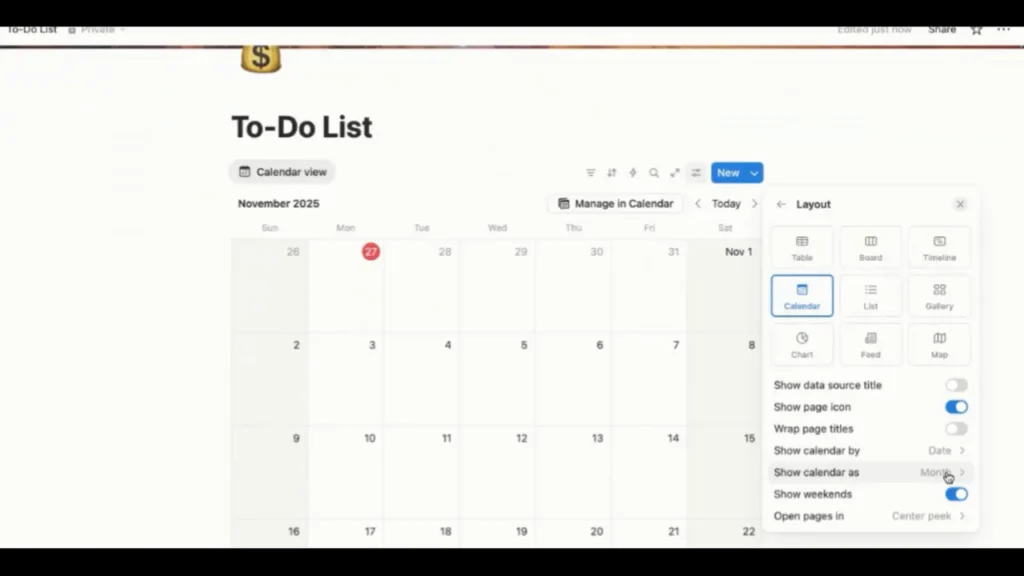
This creates a cleaner, ADHD-friendly layout where you can see your week at a glance instead of your entire month.
4. Adding Tags, Checkboxes, and Filters
Now, let’s create your first task.
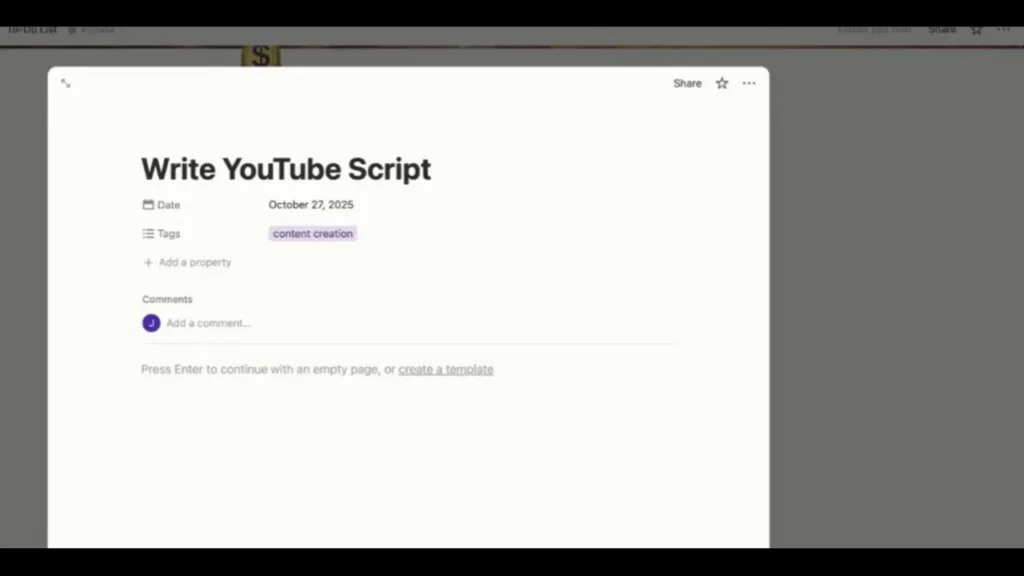
Type something like “Write YouTube Script.”
Then:
- Add a Tag (e.g., Content Creation, Admin, Marketing). Tags help you color-code and categorize tasks for easy scanning.
- Add a new Property → choose Checkbox → name it Done.
If you don’t see your checkbox on the main screen, click Settings → Property Visibility, and make sure your Done checkbox and Tags are visible.
Finally, click on your Date Property and assign a date. You can even include times or reminders if you want Notion to notify you.
5. Creating a Completed View
Now, here’s where Notion really shines—you can automatically move completed tasks out of your active list.
- Duplicate your Calendar View and rename it Completed.
- In your main (to-do) calendar, click Filter → Done is Unchecked.
- In your completed calendar, set Filter → Done is Checked.
Now, every time you check off a task, it instantly moves from your active calendar to your completed one. It’s like watching your whiteboard clean itself!
This not only declutters your workspace but also lets you look back at your progress for the week.
6. Setting Up Recurring Tasks
Want a task to repeat daily or weekly? You can automate it in Notion.
- Click New → New Template.
- Inside your new template, add your recurring task (like Blog, Lesson Planning, or Content Creation).
- Click Repeat, then set it to repeat every weekday at 6:00 a.m.
Note: Recurring tasks won’t appear until the day they’re scheduled. So, this works best for general routines—not for managing appointments or time-specific bookings.
7. Best Practices for Using Notion as a Task Manager
- Keep your workspace simple at first—too many fancy templates can make it harder to stay consistent.
- Color-code your tags for quick recognition.
- Use the mobile app to check off tasks as you go.
- Don’t rely on recurring tasks for time-sensitive events like student classes; use Notion’s calendar view or an external calendar for that.
This setup is perfect for keeping track of the daily operations in your business—content creation, outreach, lesson planning, and anything else that helps you move forward.
Conclusion
And there you have it! You’ve just created a dynamic, automated to-do list inside Notion that updates as you complete tasks. This system keeps your business running smoothly and helps you stay focused and productive.
If you want to take this setup even further, check out my video walkthrough with Teacher Jay, where we build an entire online teaching business system using Notion. You can follow along step-by-step and customize it for your own business!
What’s Next?
Watch: “How to Set Up a Blog Organizer in Notion” — coming up next!
Learn how to use Notion to plan, write, and manage all your blog content from idea to published post.
Leave a Reply