
Are you ready to take the leap into the world of online teaching? In this guide, we’ll walk you through the essential steps to set up your online teaching business, ensuring you have a solid foundation before you start enrolling students. Whether you’re a beginner or looking to refine your approach, this comprehensive plan will help you launch your business with confidence and clarity.
Welcome to the Challenge
Welcome to the Enroll and Grow Challenge! This is where your journey to becoming a successful online teacher begins. We’ve designed this challenge to be straightforward and actionable, so you can hit the ground running. Over the next few days, you’ll gain the tools and strategies necessary to attract students and grow your teaching business.
Throughout this challenge, you’ll find that each day builds upon the last, allowing you to make consistent progress. So, if you’ve been feeling stuck or unsure about where to start, you’re in the right place. Let’s dive into the first steps together!
What to Expect
- Define your ideal student base
- Craft your outreach messages
- Implement effective follow-up strategies
- Organize trial lessons to showcase your offerings
Meet Your Guide: Jillian
Hi, I’m Jillian! I’m thrilled to be your guide throughout this challenge. With years of experience as an online teacher and mentor, I understand the hurdles you may face and am here to help you overcome them.
My journey began in 2018, driven by the need for flexibility as a parent. I transitioned from a traditional job to online teaching, and it changed everything for me. I learned the ropes, faced challenges, and ultimately found success. Now, I’m dedicated to helping others do the same.

Why I Started Teaching Online
Teaching online wasn’t just a career choice for me; it was a necessity. As a single mom, my previous job at the post office didn’t provide the flexibility I needed. I often found myself juggling work with the demands of parenthood, which was incredibly stressful.
When I discovered online teaching, I realized it could provide the balance I craved. I started learning everything I could about the field and quickly found my passion. It allowed me to be present for my kids while also building a fulfilling career.
Overview of the Enroll and Grow Challenge
The Enroll and Grow Challenge is designed to help you establish a strong foundation for your online teaching business. Here’s a quick glance at what we’ll cover:
- Day 1: Identify your ideal prospects and craft your outreach messages.
- Day 2: Conduct trial lessons to showcase your value.
- Day 3: Implement follow-up strategies to convert leads into enrollments.
This structured approach ensures that you’re not just learning but actively applying what you learn to see real results.
Setting Your Objectives
Before we jump into the nitty-gritty, it’s essential to set clear objectives for this challenge. What do you want to achieve by the end of this week? Defining your goals will help you stay focused and measure your success.
Consider the following questions:
- What type of students do you want to attract?
- What subjects or skills will you teach?
- What tools and platforms will you use to deliver your lessons?
By answering these questions, you’ll create a roadmap that guides your actions throughout the challenge. Remember, clarity in your objectives will lead to confidence in your execution.

Choosing Your Curriculum
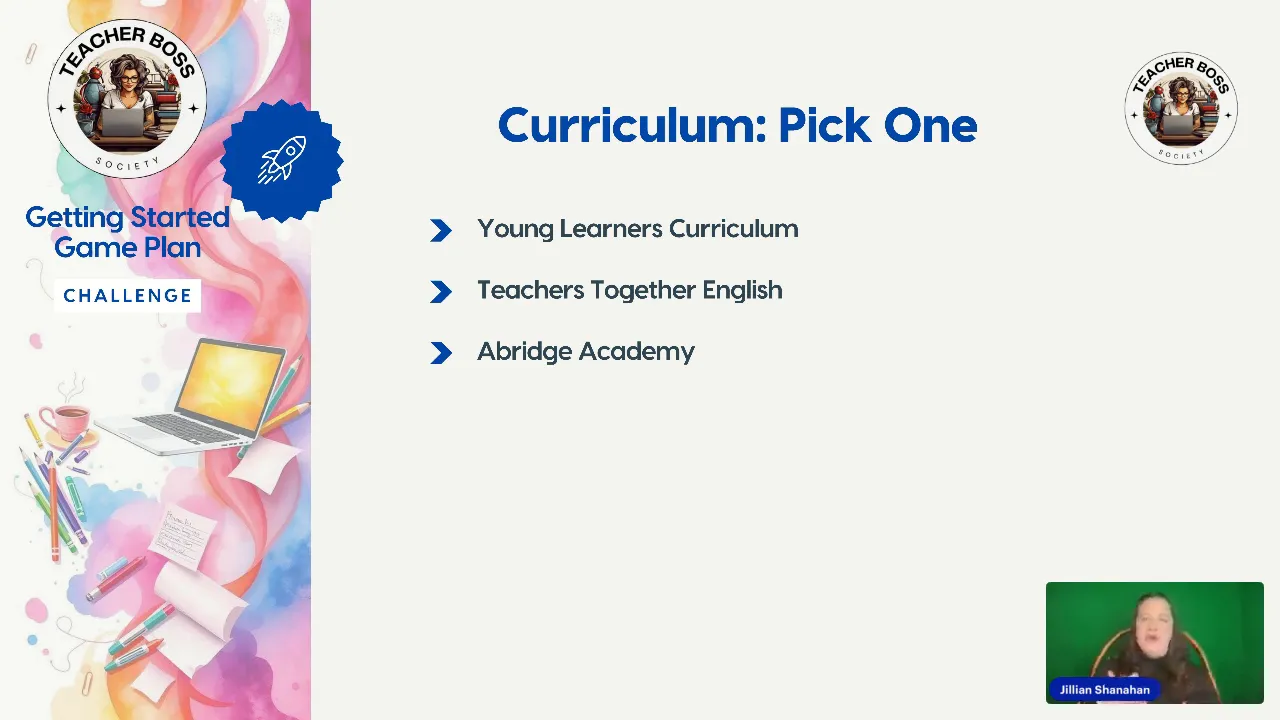
The first step in your online teaching journey is to choose a curriculum that suits your teaching style and the needs of your students. Here are three excellent options that I recommend:
Each of these curriculums offers free versions, allowing you to conduct trial lessons without any commitment. This is key when starting out, as it lets you test the waters and see what resonates best with your students.
Overview of the Options
Let’s dive a bit deeper into what each curriculum offers:
Young Learners Curriculum
This curriculum includes engaging materials tailored for younger students. The placement test is user-friendly and provides instant feedback, which is great for both you and your students. You’ll start with basic questions, like identifying colors, and progress from there.

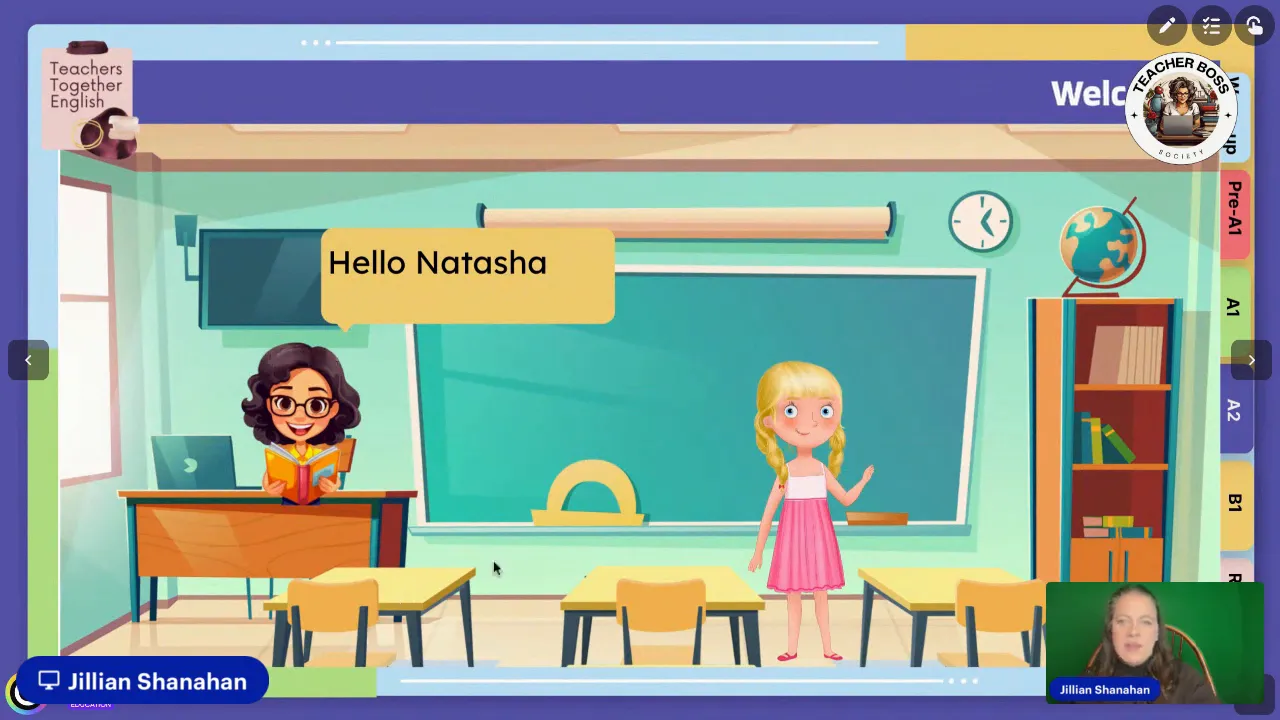
Teachers Together English
Next up is Teachers Together English. This platform allows you to input your student’s name and guide them through various sections that cover essential topics. You can easily track their progress and see how they’re doing at the end of the session.
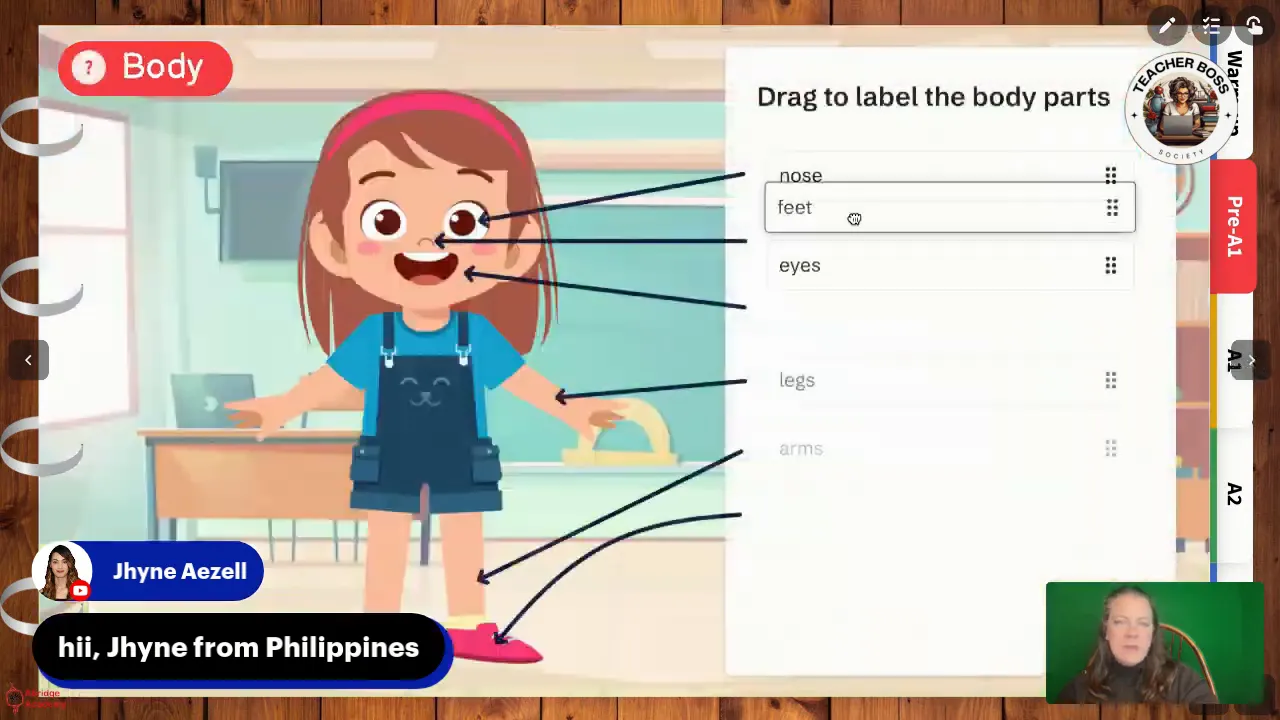
Abridge Academy
Finally, Abridge Academy provides a comprehensive learning experience with interactive elements. Students can answer questions through a drag-and-drop interface, making it an enjoyable way to learn. Like the others, it also offers a free version, so you can try it out before committing.
Making Your Choice
Choosing the right curriculum is crucial. I recommend exploring each option and deciding which one aligns best with your teaching style. Once you’ve chosen, you can start using it to conduct trial lessons and attract students.
Selecting a Billing Platform
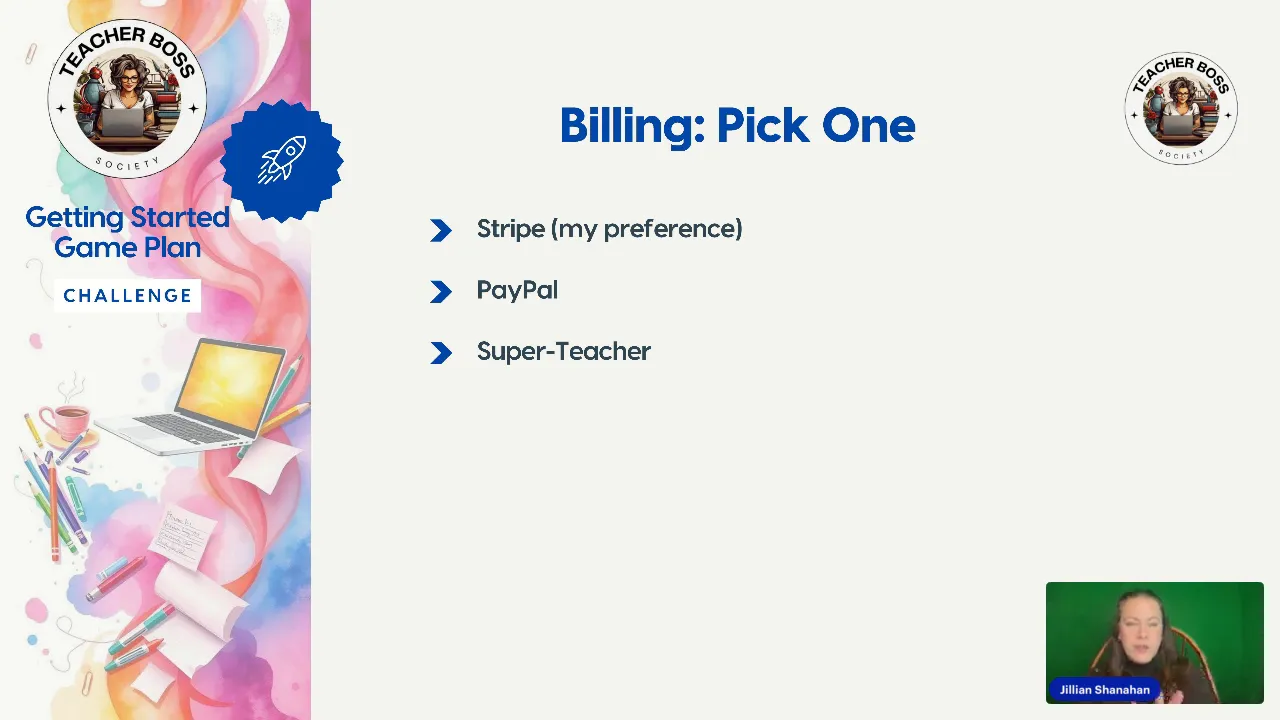
After you’ve selected your curriculum, the next step is to choose a billing platform. This is a vital part of your online teaching business, as it will handle your transactions and keep everything running smoothly. Here are the top options to consider:
- Stripe
- PayPal
- Super Teacher
I personally prefer Stripe for its ease of use. You can send invoices effortlessly and even set them to auto-generate for recurring payments.
Why Choose Stripe?
Stripe offers a seamless integration with various platforms, including WeChat, which can be particularly useful for international transactions. You can automate your billing process, making it hassle-free. The only downside is that you need a bank account in a supported country and a working website to get started.
Alternative Options
If you’re unable to use Stripe, both PayPal and Super Teacher are excellent alternatives. PayPal is widely recognized and easy to use, but keep in mind it has higher fees. Super Teacher combines billing with scheduling, making it a convenient option if you want everything in one place.
Getting Set Up
Whichever platform you choose, make sure to get it set up this weekend. This will allow you to start billing your students efficiently and focus on teaching. Take the time to explore the features and benefits of each option to find the one that best fits your needs.
Picking Your Teaching Platform
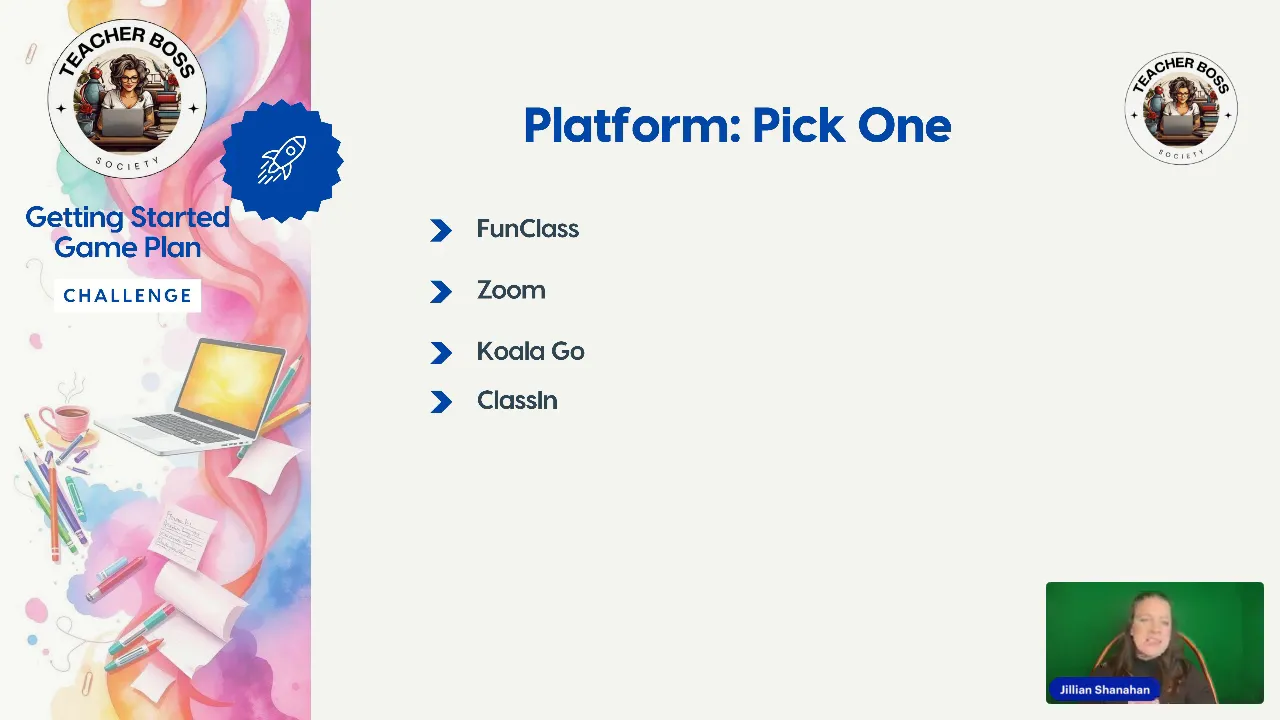
Now that you have your curriculum and billing platform sorted, it’s time to choose where you’ll host your classes. Your teaching platform is where the magic happens, so make sure it’s user-friendly and reliable. Here are a few top choices:
My personal favorite is FunClass. It provides a unique experience for both teachers and students, including features like a calendar for scheduling classes and interactive rewards.
Features to Consider
When choosing a teaching platform, consider the following:
- Ease of Use: Make sure it’s simple for both you and your students to navigate.
- Interactive Tools: Look for platforms that offer interactive features, such as drag-and-drop options.
- Support: Check if there’s reliable customer support available in case you encounter any issues.
Finalizing Your Choice
Take some time to explore each platform’s features and see which one aligns with your teaching style. Once you’ve made your choice, you can start hosting classes and connecting with students effectively.
Using the Rate Calculator
Now that you have your curriculum, billing platform, and teaching platform, it’s essential to determine your rates. I’ve developed a rate calculator to help you figure out what you should be charging for your lessons. This tool will guide you through the process based on your financial goals and teaching hours.
📌 Related Resource: Rate Calculator

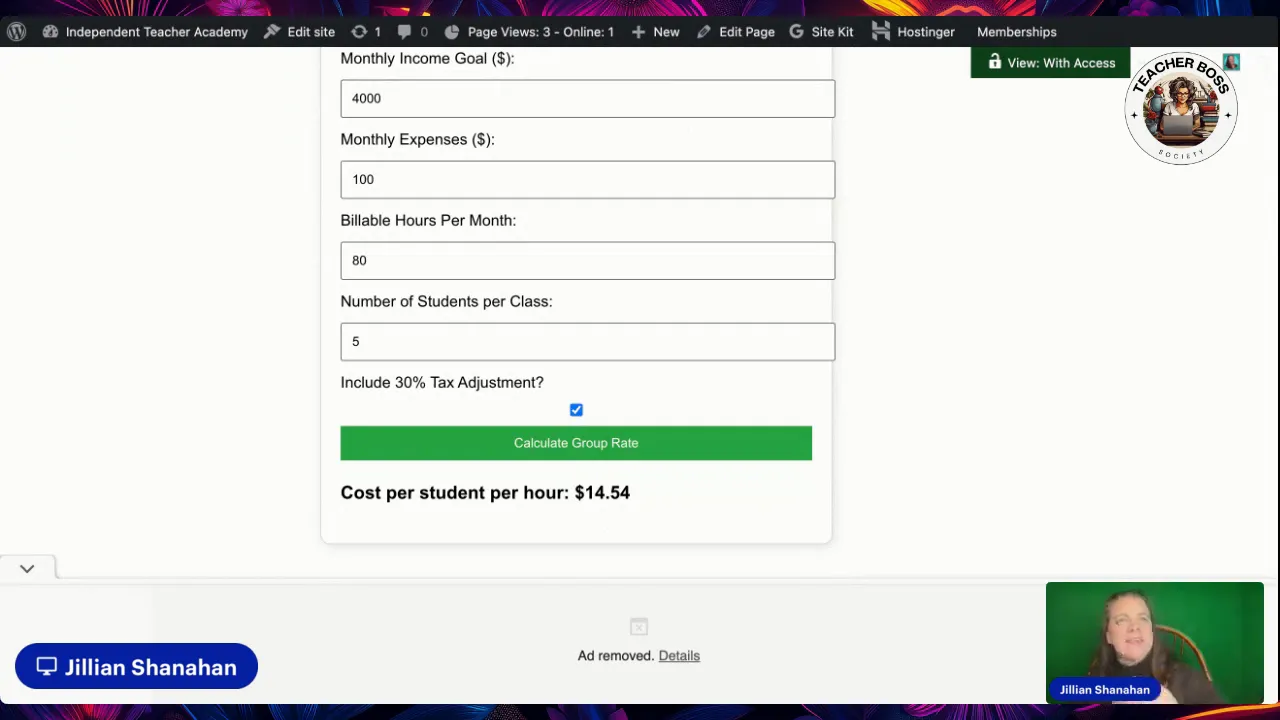
How to Use the Rate Calculator
Here’s a quick guide on how to use the rate calculator:
- Set your monthly income goal. For instance, if you want to earn $5,000 a month, input that amount.
- Enter your expected teaching expenses. This might be lower for new teachers, but it’s essential to account for any costs you may incur.
- Input your billable hours for the month. If you plan to teach 20 hours a week, that’s around 80 hours a month.
- Account for taxes. It’s recommended to set aside around 30% for taxes.
Once you’ve filled in these details, the calculator will provide you with an hourly rate based on your goals.
📌 Related Resource: Rate Calculator
Group Class Pricing
If you’re considering group classes, the calculator can also help you determine the cost per student. Simply input the number of students you plan to teach in each group, and it will calculate what you need to charge per student to meet your income goals.
Understanding Your Worth
Many teachers undercharge for their services. The rate calculator will help you see what you should realistically be charging to sustain your business. If your calculated rates seem high, consider adjusting your group sizes or teaching hours to make it more feasible.
Creating Your Terms and Conditions
Lastly, it’s crucial to establish clear terms and conditions for your online teaching business. This document will protect you and set expectations for your students. Here’s how to create them:
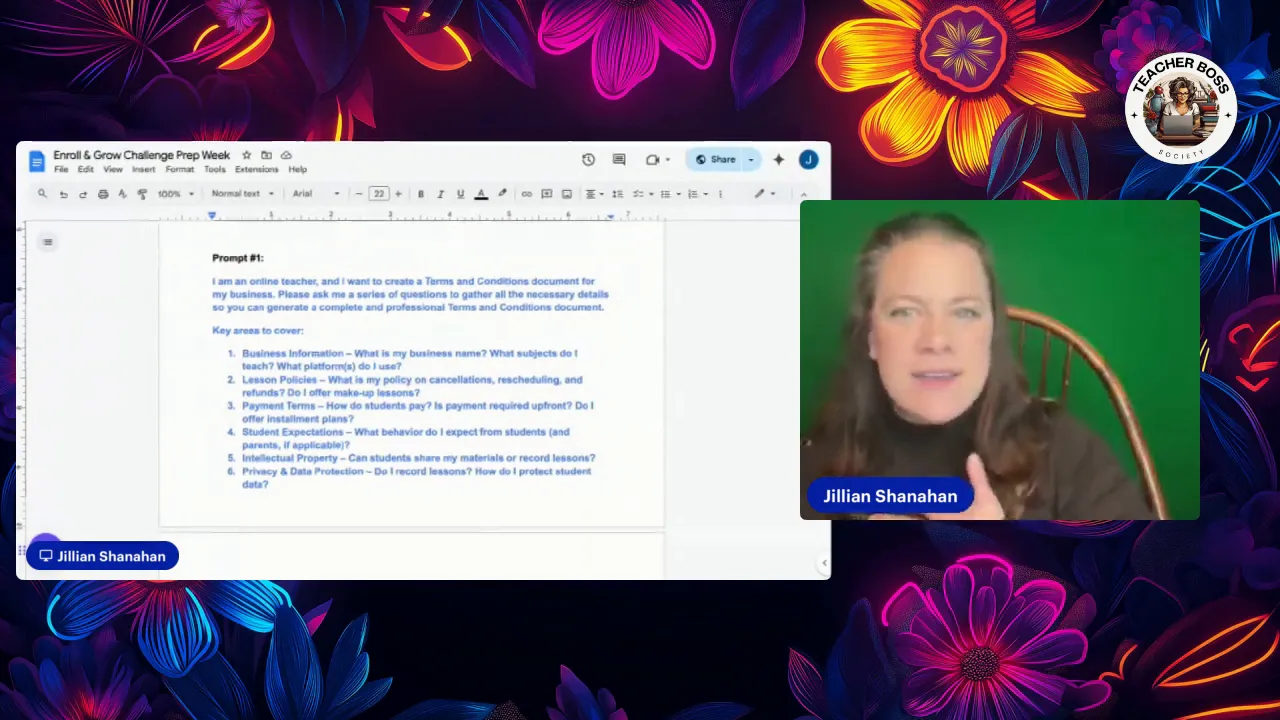
Start by using a simple prompt in ChatGPT to help you structure your terms. If you’d like this guide, click here and I’ll send it out to you.
ChatGPT will guide you through various questions to help you define your policies on cancellations, rescheduling, refunds, and more.
Key Elements to Include
Make sure to cover the following in your terms and conditions:
- Business Name: Clearly state your business name.
- Subjects Taught: List the subjects or skills you offer.
- Cancellation Policy: Define your policy for cancellations and rescheduling.
- Payment Terms: Outline how and when payments will be made.
- Data Protection: Explain how student data will be handled.
By establishing clear terms and conditions, you create a professional environment that fosters trust with your students.
Your Assignment for the Weekend
This weekend, your primary assignment is to lay the groundwork for your online teaching business. Specifically, you’ll need to:
- Set Your Services: Decide what you will teach and how you will deliver your lessons.
- Set Your Rates: Determine your pricing structure based on your financial goals.
- Create Your Terms and Conditions: Establish clear guidelines for your business operations.
The beauty of this task is its simplicity. You can complete it in about an hour! Start by signing up for free trials of platforms like Teachers Together English, Fun Class, Young Learners Curriculum, and Abridge Academy. Additionally, get your Super Teacher account set up on Stripe or PayPal to manage your billing.
Why This Matters
Setting these foundational elements is crucial for your business. Without clear services, rates, and terms, your teaching practice may lack direction. These components will not only help you maintain professionalism but also build trust with your students.
So, take a moment this weekend. Go through the workbook, check off each task as you complete it, and watch as your business starts to take shape. Isn’t that exciting? Building your online teaching business is not just a dream; it’s happening now!
Q&A Session: Your Questions Answered
Now, let’s turn our attention to the questions you might have. If you’re feeling uncertain about any aspect of setting up your online teaching business, this is the perfect time to ask! Whether it’s about the platforms, pricing, or teaching methods, I’m here to help.
Here are some common questions I often receive:
- How do I choose the right teaching platform? Consider factors like ease of use, interactivity, and the specific needs of your students. Platforms like Fun Class and Zoom have their unique strengths.
- What if I don’t know how to set my rates? Use the rate calculator we discussed earlier. It will guide you in determining a fair rate based on your goals and expenses.
- What should I include in my terms and conditions? Make sure to cover key areas such as cancellation policies, payment terms, and data protection measures.
Remember, no question is too small. If you’re thinking it, someone else probably is too! Feel free to drop your questions in the comments or chat, and I’ll be here to provide clarity.
The Importance of Engagement in Online Teaching
As you embark on this journey, one crucial aspect to keep in mind is the importance of student engagement. Engaging your students isn’t just about keeping them entertained; it’s about fostering a learning environment that encourages participation and interaction.
Why Engagement Matters
- Enhances Learning: Engaged students are more likely to absorb information and retain knowledge.
- Reduces Distractions: When students are actively involved in the lesson, they are less likely to drift off or lose focus.
- Builds Relationships: Engagement allows you to connect with your students, creating a more personalized learning experience.
For younger students, this is especially important. They thrive on interaction and hands-on activities. Platforms that allow for co-browsing or interactive elements are essential for maintaining their attention.
Strategies for Increasing Engagement
Here are some effective strategies to boost engagement in your online classes:
- Use Interactive Tools: Incorporate quizzes, polls, and interactive activities to keep students involved.
- Encourage Participation: Ask open-ended questions and encourage students to share their thoughts and experiences.
- Gamify Learning: Introduce game-like elements to make learning fun and competitive.
By implementing these strategies, you can create a dynamic learning environment that keeps your students engaged and excited about learning.
Wrap-Up and Next Steps
As we wrap up this segment, remember that you’re building something incredible. Your online teaching business is not just a job; it’s a platform for sharing knowledge and making a difference in your students’ lives.
Here are your next steps:
- Complete your weekend assignment: Set your services, rates, and terms.
- Join the Teacher Boss Society if you haven’t already. It’s a fantastic resource for ongoing support and education.
- Prepare for Day 1 of the challenge on Monday. Make sure you have all your tools and platforms ready to go!
Stay excited and keep pushing forward. You’re on the brink of launching a rewarding career in online teaching. I can’t wait to see what you accomplish!
Ready to take the next step? Join the challenge here: www.teacherbosssociety.com
Leave a Reply