Quick, consistent thumbnails help your content get noticed. You can create attention-grabbing, on-brand thumbnails in minutes using Galaxy AI‘s image generator and a little prompt craft. This guide walks through a simple workflow to generate thumbnails that include your face, show a clear message, and are ready to finish in Canva or your editor of choice.
This blog contains affiliate links, and a small amount of commission may be earned from qualifying purchases.
What you need before you start
- Paid Galaxy AI account with the ability to train custom models.
- Mutiple reference photos to train the custom model so it recognizes your face and style.
- Basic prompt details ready: aspect ratio, composition, clothing, background color, and the short phrase that identifies your custom model (your trigger token).
- Optional: Canva or another editor to add bold text and final polish.
Step-by-step: Fast thumbnail creation
1. Open the Galaxy AI photo generator
Go to the photo generator URL and select your trained custom model. If you haven’t trained a model yet, spend a few minutes uploading reference photos and creating the trigger token that the generator will use to place your likeness.

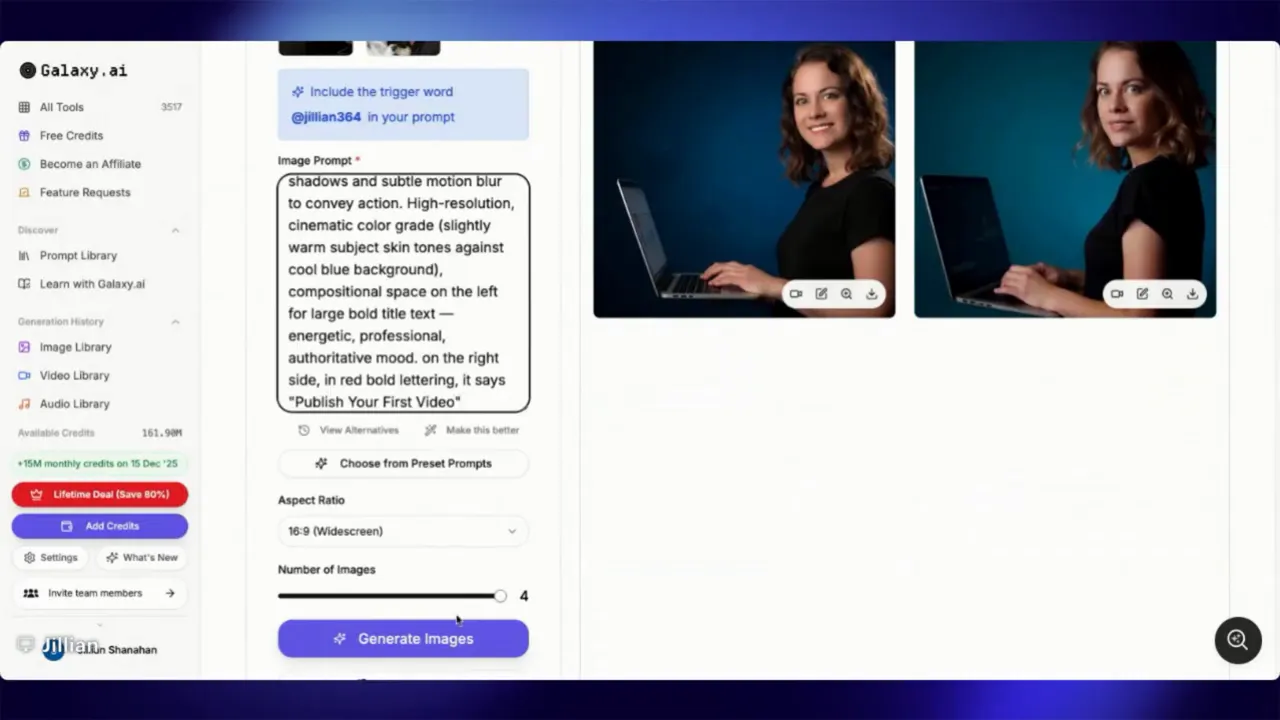
2. Set the aspect ratio and include your trigger
Because this is a widescreen thumbnail, always include 16:9 widescreen in the prompt. Also include your model’s trigger token (for example, “Jillian364”) so the AI uses your trained likeness rather than a generic face.
3. Write a clear, descriptive prompt
Keep the prompt focused on composition and mood rather than exact headline text. A good example:
create an image appropriate for a high performing thumbnail conveying the idea how to publish a YouTube video. Include (name) on the right side of the image. She has shoulder-length wavy brown hair and is wearing a black t-shirt (no logos or text). She is holding a laptop. Background should be dark blue.
Key parts to include: trigger token, placement (right side), hair and clothing details, prop (laptop), background color, and the overall idea you want the image to convey.

4. Use “conveying the idea” to avoid unwanted text
When you say the prompt should be “conveying the idea” of something, the generator tends to produce strong, clean thumbnails instead of adding lots of extra text or strange graphics. If you put very specific text in the prompt, the AI may paint that text onto the image in awkward ways.
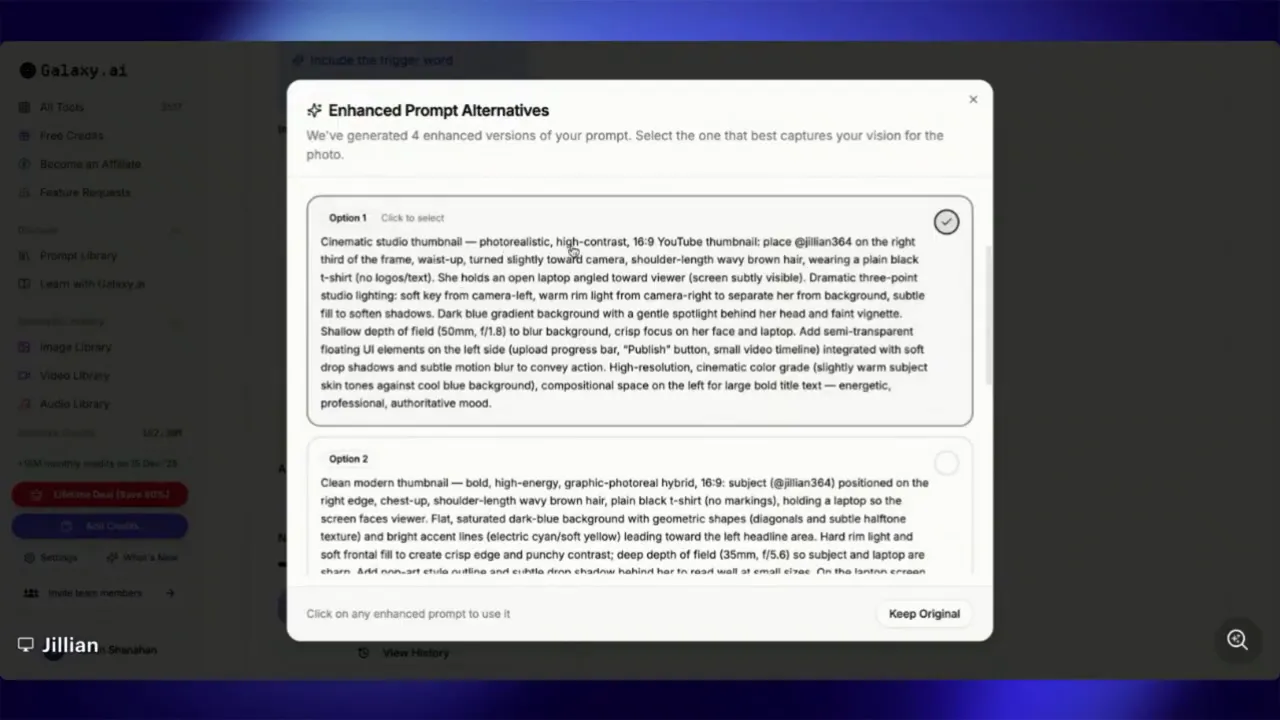
5. Choose a suggested style or tweak the options
The generator often offers style suggestions like “photorealistic, high contrast, slightly turned camera, open laptop angled toward the viewer, dramatic three-point soft keys.” Pick a style that matches the channel aesthetic and press generate. You’ll get variations—save the ones closest to what you want.
6. Generate variations and refine
Expect to generate multiple images. Some will look like you, others will be close-but-not-quite. Save the best version and re-run with minor prompt tweaks if needed (adjust hair length, expression, or lighting). If an image places text over your face or repeats text awkwardly, refine the prompt to avoid explicit headline insertion and handle all headline text later in an editor.
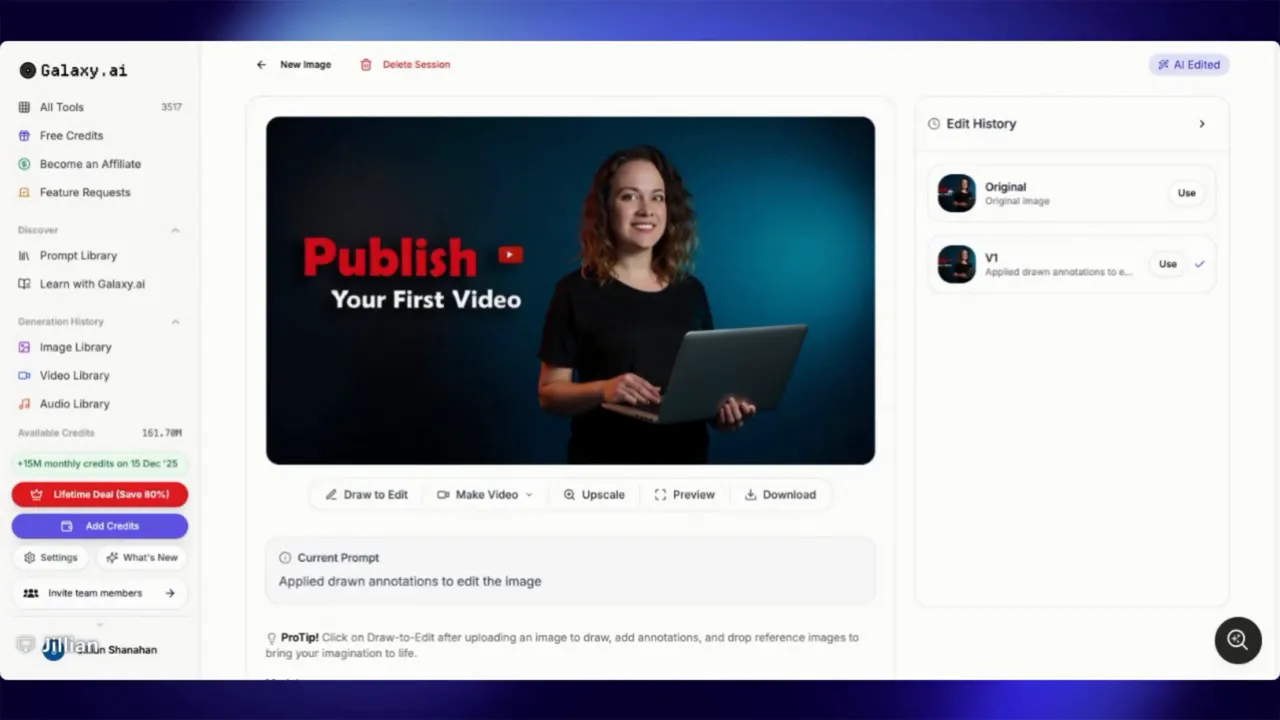
7. Finalize in an editor
Download the generated image and import it into Canva or your preferred editor. Add your headline in bold, high-contrast type, place it to the left or wherever it won’t obscure the subject, and export at full resolution. This gives you precise control over typography and alignment.
Tips and troubleshooting
- Train the model well. A good set of reference photos and a consistent trigger token will produce more reliable likenesses.
- Be specific about clothing. Saying “black t-shirt with no logos or text” prevents unexpected branding appearing on the shirt.
- Use placement directions. “Right side of the image” or “left side” helps when you plan to place text opposite the subject.
- Prefer mood-over-copy. Use phrases like “conveying the idea” instead of asking the AI to render exact headline text.
- Generate multiple versions. One is rarely perfect. Pick the best candidate and finish it in Canva for control over text and final layout.
- Expect imperfections. Sometimes expressions, hair length, or small details will be off. Tweak descriptors and try again.
Quick prompt template you can copy
Use this structure when writing your own prompts:
- Aspect + purpose: “16:9 widescreen, create an image appropriate for a high performing thumbnail conveying the idea [topic]”
- Subject + trigger: “Include [TriggerToken] on the [left/right] side of the image.”
- Appearance: “Shoulder-length wavy brown hair, wearing a black t-shirt with no logos or text.”
- Props and background: “Holding a laptop. Background: dark blue.”
- Style hints: “Photorealistic, high contrast, slightly turned camera, open laptop angled toward the viewer, dramatic three-point soft keys.”
Wrap-up
This approach lets you produce consistent, branded thumbnails quickly. Use the custom model trigger, keep prompts focused on composition, generate multiple variations, and polish the final image in an editor. With a few experiments you’ll find the exact prompt language that consistently produces thumbnails you love.
If you want a walkthrough of specific prompts or help refining your model’s trigger and reference images, leave a comment and say what you need help with.
Join our free Skool Group Here:
Leave a Reply