
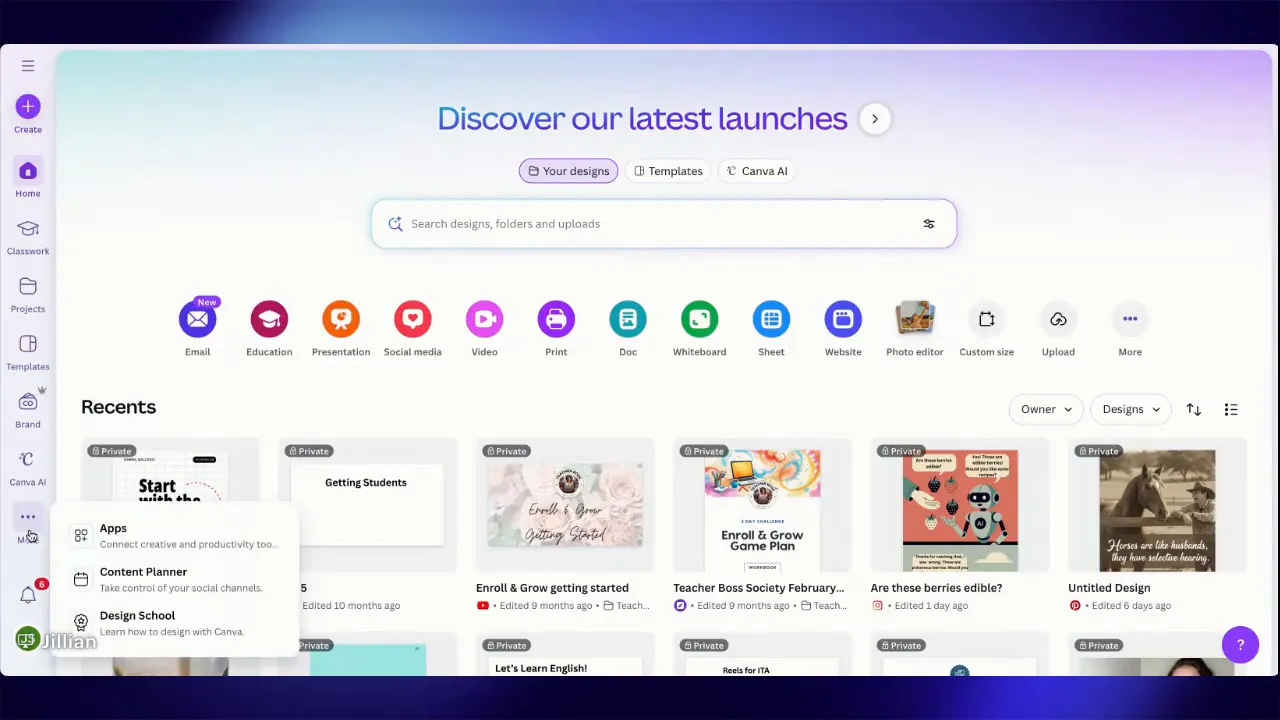
Canva’s Content Planner lets you create, schedule, and publish social posts without downloading images or paying for a separate scheduler. Schedule posts right from the editor, batch-create content, and let your social media run on autopilot while you focus on other parts of your business.
Why use Canva’s Content Planner?
- Save time: Batch-create multiple posts in one sitting and schedule them for weeks or months.
- No extra tools: Publish directly to Instagram, Facebook, Pinterest, Twitter, and more without exporting files.
- Centralized planning: See everything in a calendar-style planner so nothing gets missed.
Quick overview of the process
- Open Content Planner from the Canva home menu.
- Create or open a design (image posts only; carousels are not supported).
- Use Share > See all > Social and choose Schedule.
- Pick a date and time, select the channel, add your caption, and hit Schedule.
- Manage posts in the Content Planner calendar.
Step-by-step: schedule a post inside Canva
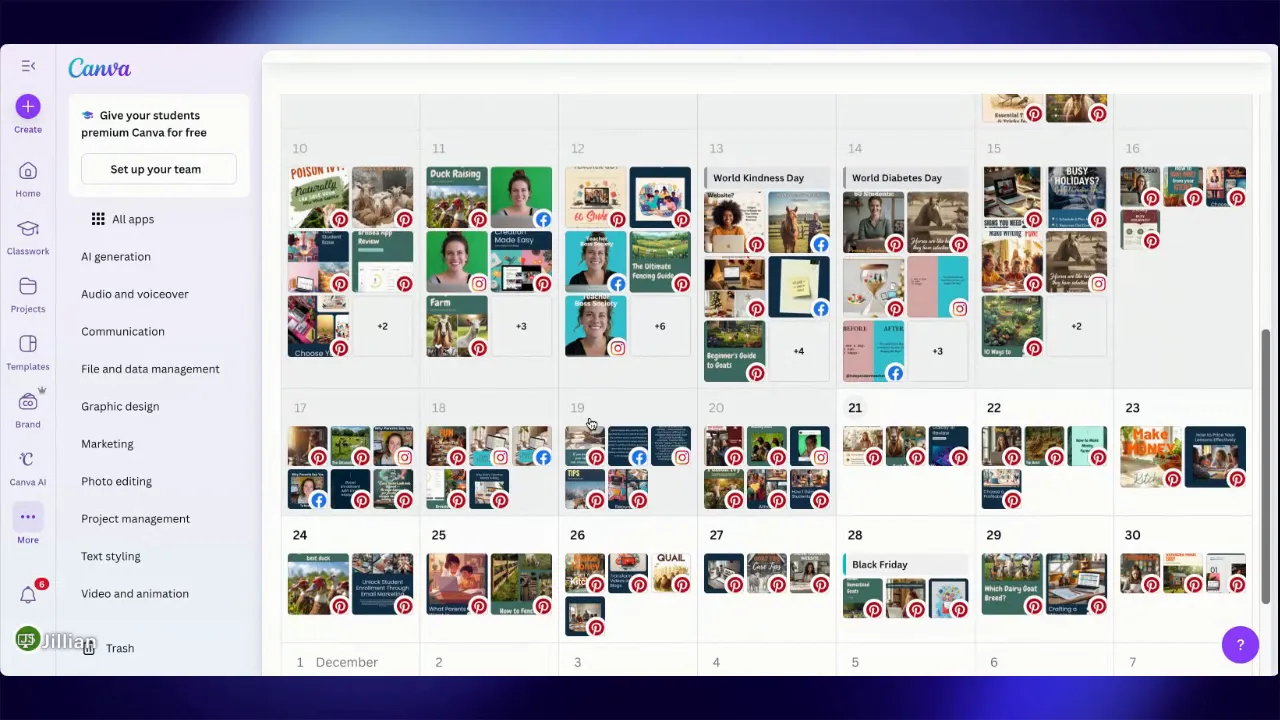
1. Open the Content Planner
From the Canva home screen, click More and then Content Planner to open your calendar. This shows every post you have scheduled and is the hub for managing upcoming content.
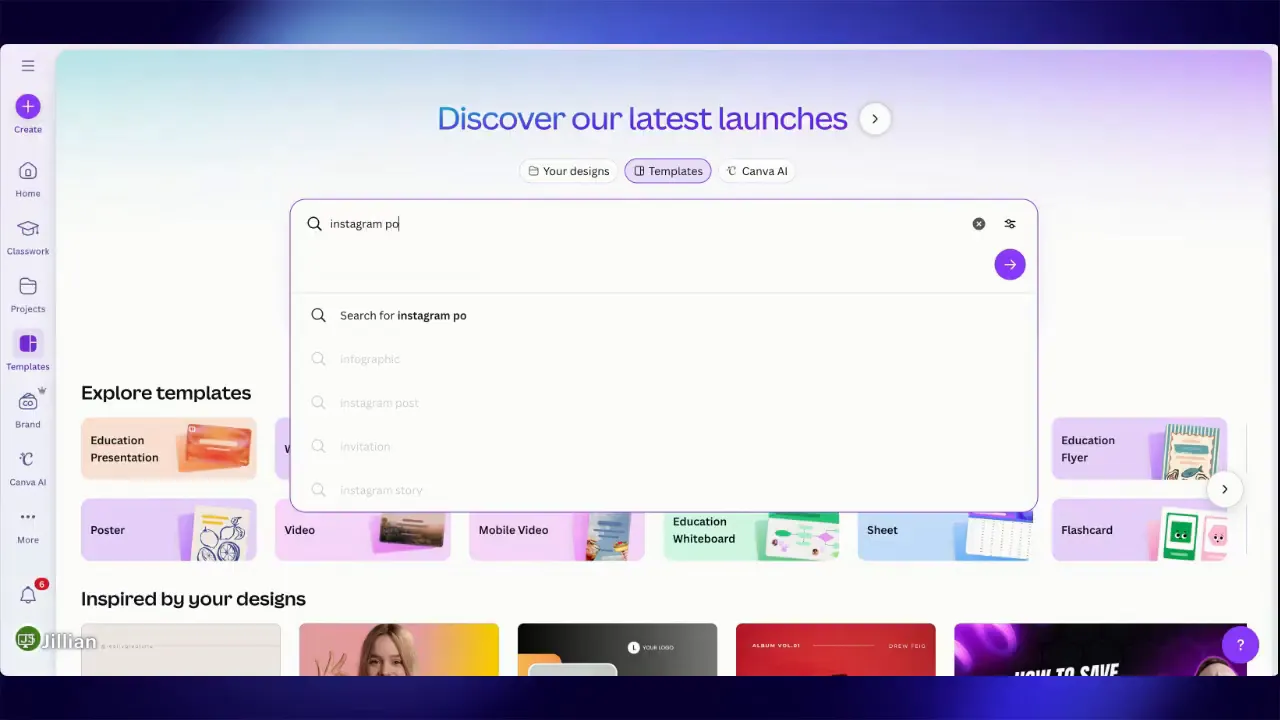
2. Create a design for the platform
Go to Templates and search for the post type you need, for example Instagram post. You can start with a template or a blank canvas. Remember: this scheduling feature works only for image posts, not carousels.
3. Prepare the image and click Share
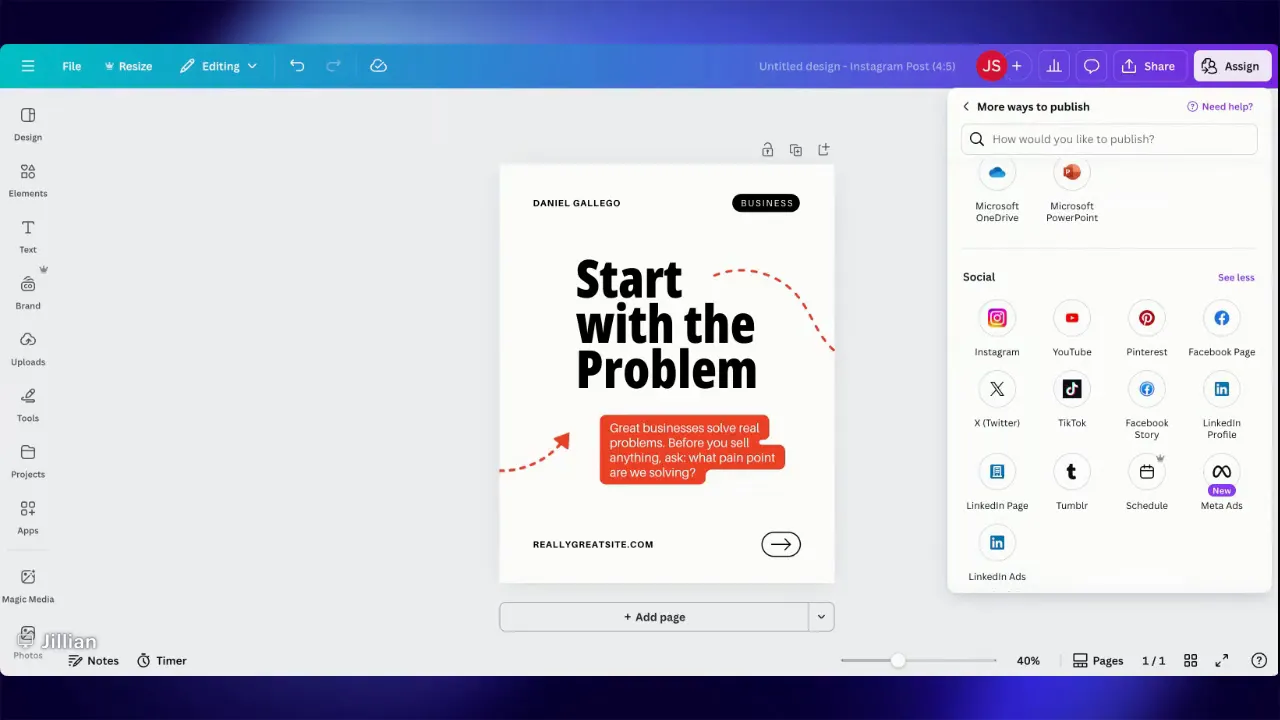
Design the graphic as you normally would. When ready, click Share. Instead of downloading, click See all and choose Social to reveal scheduling options.
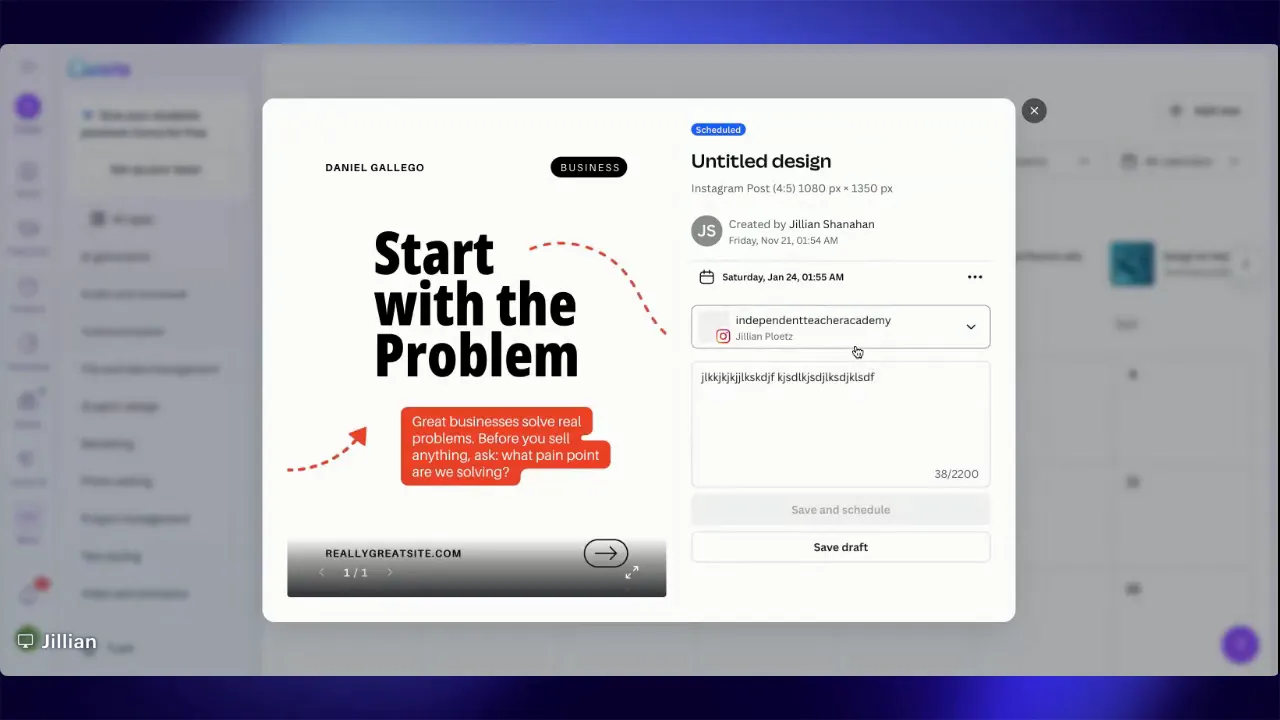
4. Schedule the post
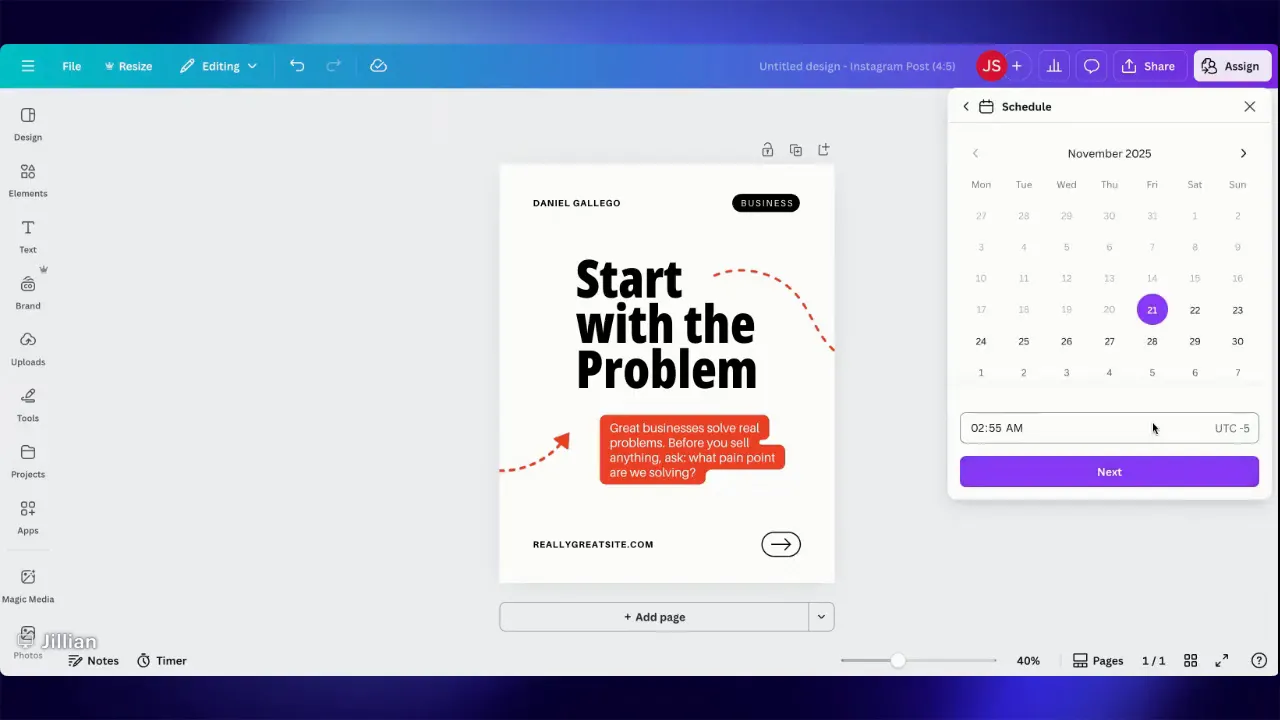
Click Schedule and pick the date and time you want the post to go live. A good trick when batch-creating content is to schedule items far into the future so you can test and then easily delete or adjust them later.
5. Connect the social channel
Select the platform you want to publish to and follow the prompts to connect the account if it is not already linked. Canva will ask for permissions for Facebook pages, Instagram, Twitter, Pinterest, or other platforms as needed.
6. Add copy and finalize
Write your caption directly inside the scheduling dialog, then hit Schedule. The post appears in the Content Planner on the date you chose.
7. Manage scheduled content
Open Content Planner at any time to view, edit, or delete scheduled posts. The calendar makes it easy to visualize your posting rhythm and spot gaps in coverage.
Practical tips to get the most from scheduling in Canva
- Batch-create: Spend an hour every few weeks designing a set of posts and schedule them all at once. This reduces daily overhead.
- Use test dates: If you want to preview a scheduled post without cluttering the near-future calendar, schedule it far out and then move or delete it later.
- Connect each channel properly: Some networks require page-level access or specific permissions. Make sure you connect the correct account or page before scheduling.
- Mind the format: This workflow supports single-image posts. For multi-image carousels or advanced post types, use the native platform tools or a dedicated scheduler.
- Keep captions ready: Store caption variations or hashtags in a note so you can paste them quickly when scheduling multiple posts.
Common limitations
- Carousels and certain post types cannot be scheduled directly from Canva.
- Some platforms may require additional authentication or page permissions.
- Advanced scheduling features like optimal time prediction may be limited compared with dedicated social tools.
Final thoughts
Scheduling straight from Canva is a simple way to streamline content creation and publishing. It removes the extra step of downloading and uploading images and keeps your content calendar organized in one place. Try batch-creating a week or month of posts, connect your channels, and let your content run on autopilot while you handle higher-value tasks.
Leave a Reply