Canva AI can save hours of design time by generating ready-to-edit graphics for YouTube thumbnails, Pinterest pins, Facebook posts, and even full presentations. With a few simple prompts and your brand kit, you can produce multiple, polished options and then fine-tune them in the Canva editor.
Quick start: where to find Canva AI
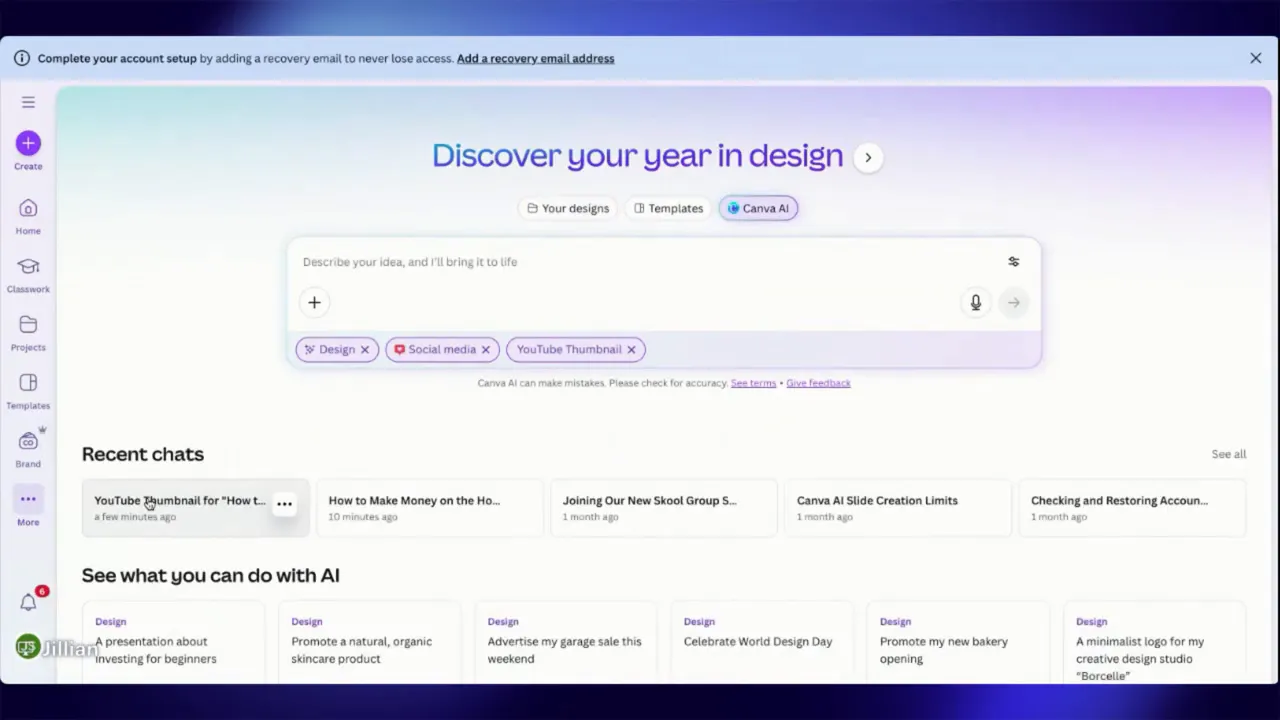
Open Canva and either go to Home and click Canva AI or click More and choose Canva AI. Both routes take you to the same interface where you can choose to create an image, a social-media design, or a presentation.
Generate social media designs with a prompt
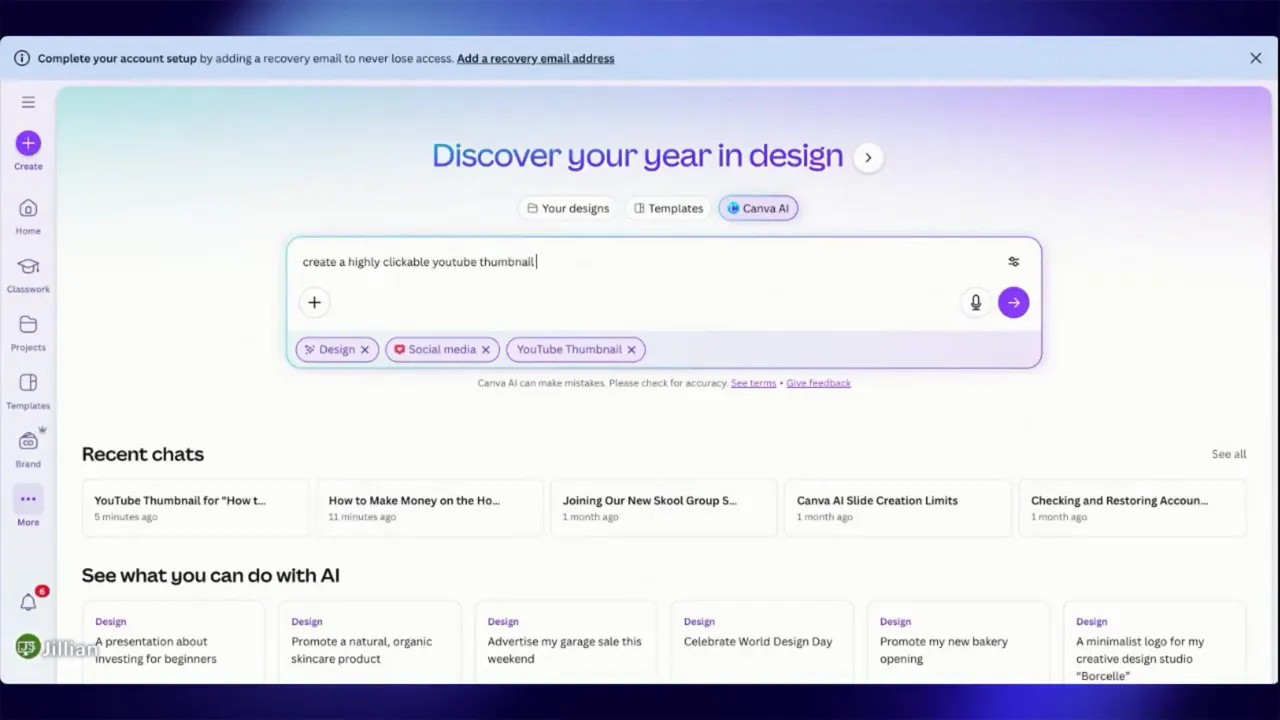
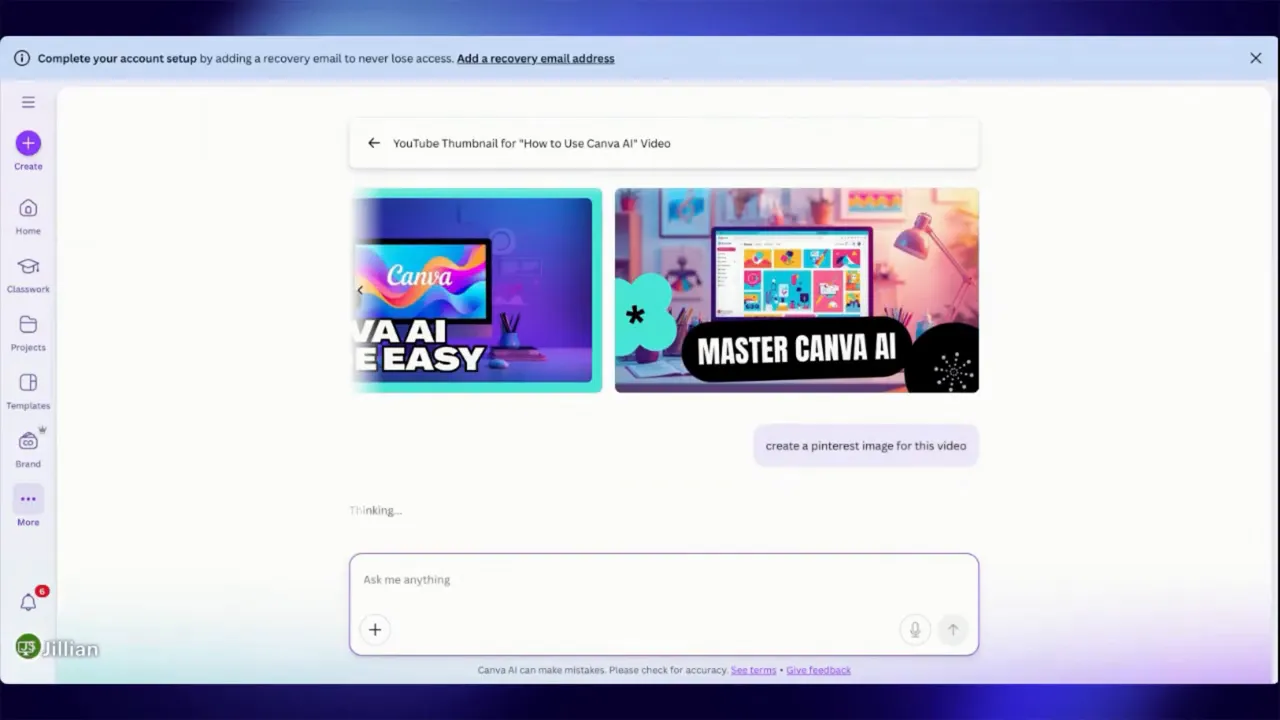
Select Design, pick the platform (for example, YouTube thumbnail), and type a short clear prompt such as: create a highly clickable YouTube thumbnail for how to use Canva AI. Submit the prompt and Canva AI returns several layout options you can use as a starting point.
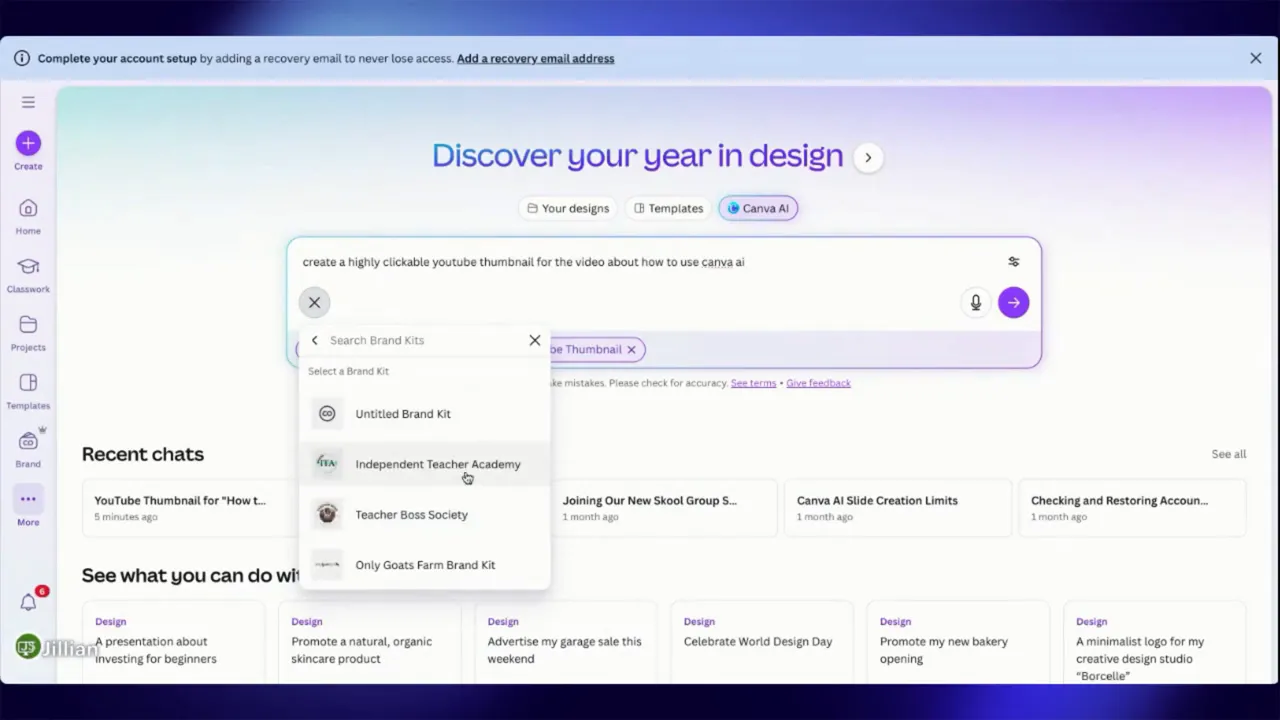
Include your brand kit
Before generating, apply your brand kit so colors and fonts match your visual identity. This makes the AI-generated options closer to publish-ready and reduces editing time.
Editable designs vs single images — know the difference
When you choose a social-media design (YouTube, Pinterest, Facebook), Canva AI creates separate elements that open in the Canva editor and are fully editable. If you create a generic image instead, it may come back as one flattened image that you cannot easily change without asking the AI for revisions. For maximum flexibility, use the social-media design option so you can tweak text, move elements, and swap photos.
Examples and step-by-step workflows
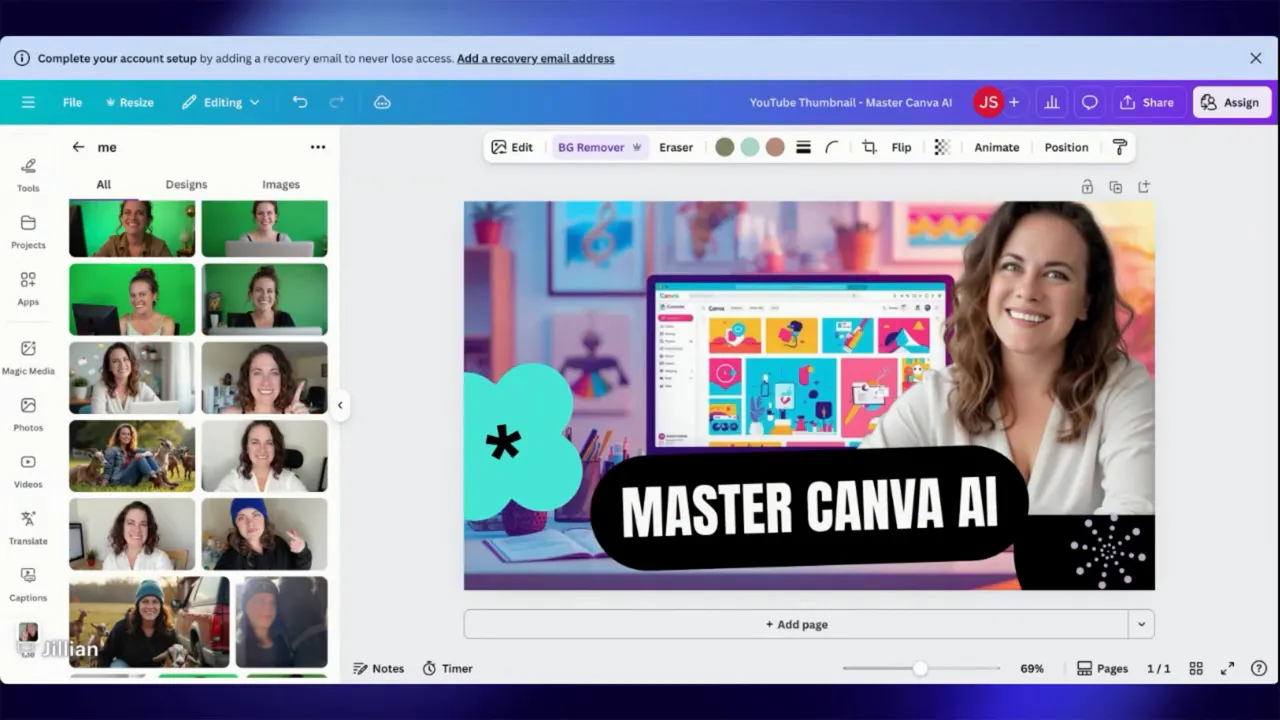
YouTube thumbnail: add your photo and polish
Pick one of the generated thumbnails, open it in the editor, then upload your headshot. Use the background remover to isolate yourself, flip or resize the photo, and layer elements by bringing shapes or text forward to create depth. Small adjustments like flipping and bringing elements forward make thumbnails pop.
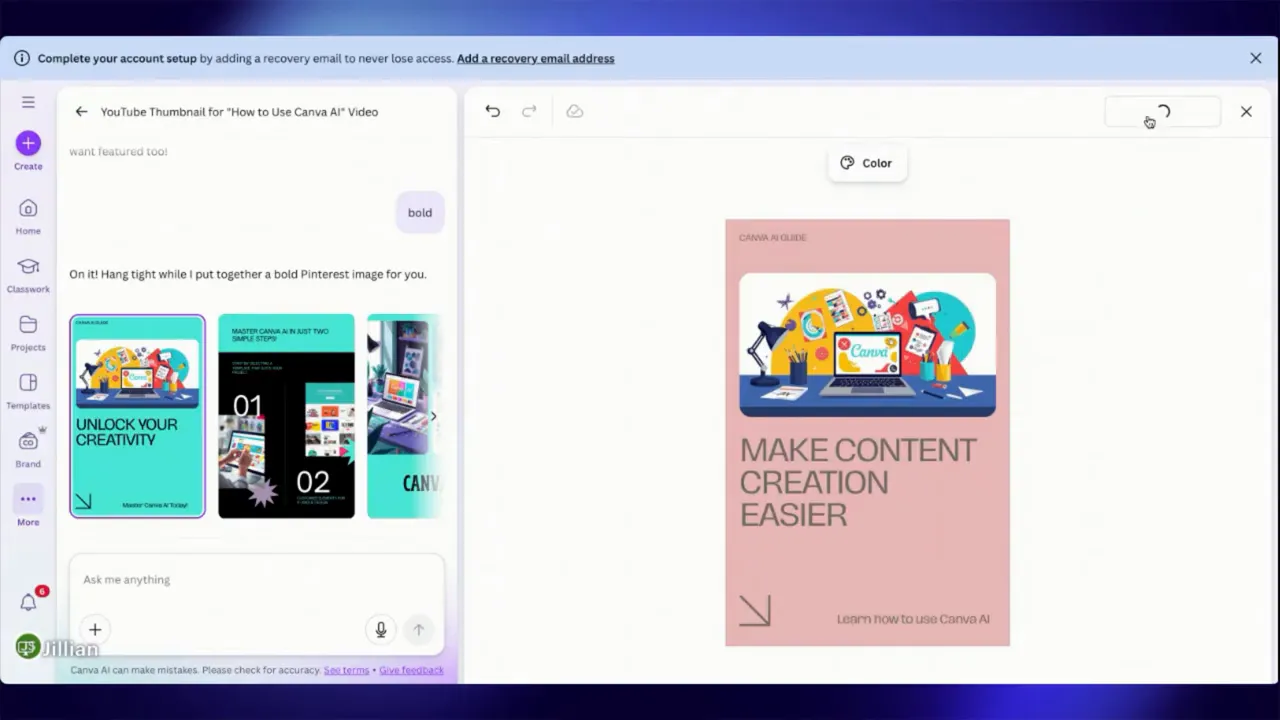
Pinterest pins: generate multiple sizes and styles
Ask Canva AI for a Pinterest image and it will generate the correct dimensions plus several variations. Try different style keywords like bold, minimal, or elegant to get diverse options. If the colors don’t match your brand, swap the color palette before opening in the editor.
Facebook image: watch out for editability limits
Canva AI can create Facebook post images, but if it returns a single flattened image you won’t be able to edit individual elements without reopening the design in the editor. When possible, generate a social-media design so you keep control over every layer.
Presentations: let Canva AI build the structure
Request a presentation by specifying number of pages and style, for example: create a 15-page elegant presentation to train online teachers how to use Canva AI. Canva AI will generate slide layouts and suggested content. From there you can open the slides in the editor and customize sections, images, and copy.
A handy trick: change any slide color, then use Change all to apply that color across the entire deck where that color appears. This quickly brings the presentation in line with your brand palette.
Practical tips to speed up your workflow
- Always apply your brand kit before generating designs to ensure consistent colors and fonts.
- Use social-media design templates rather than single images so elements remain editable.
- Use clear prompts — include format (YouTube thumbnail, Pinterest pin), tone (bold, elegant), and purpose (promote a tutorial, drive sign-ups).
- Remove backgrounds from photos to create professional-looking thumbnails and layered designs.
- Use the editor to refine text, alignment, and hierarchy after generation — the AI gives you a head start, not the final draft.
- Create presentations from prompts to auto-generate structure, then tweak slides and use Change all to update colors globally.
- Schedule and post directly from Canva when you’re ready to publish to social platforms to keep your content calendar tight.
Final thoughts
Canva AI is a powerful assistant that streamlines content creation across platforms. Use it to generate multiple layout options, then spend your time polishing rather than building from scratch. With a few smart prompts and your brand kit applied, you can produce consistent, clickable graphics in minutes.
Make the AI do the heavy lifting. Keep the creative control.
Next:
How To Schedule Posts from Canva
Leave a Reply